The following guide will explain making a sale from the POS.
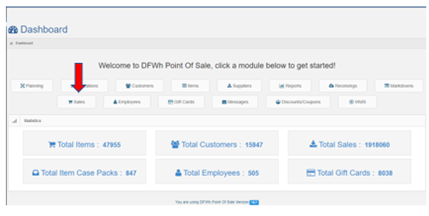
- From the Dashboard, click the “Sales” button
- Scan the Register Barcode located on the receipt Printer
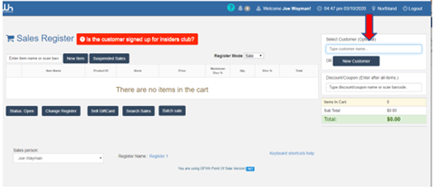
Enter the customer’s name into the customer field
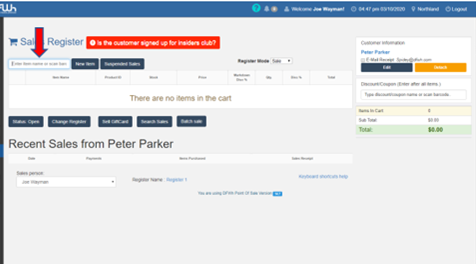
Place your cursor in the “Enter Item” field and scan one item at a time
Keep an eye out for a negative quantity error
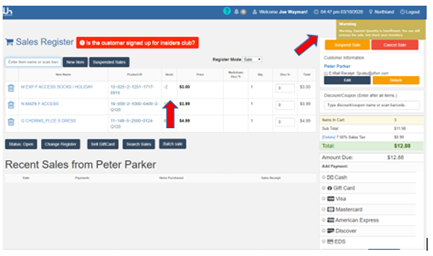
Notify a member of management if you see the negative quantity error pop up while you are scanning products for your customer
- Select the method of payment and click “add payment.”
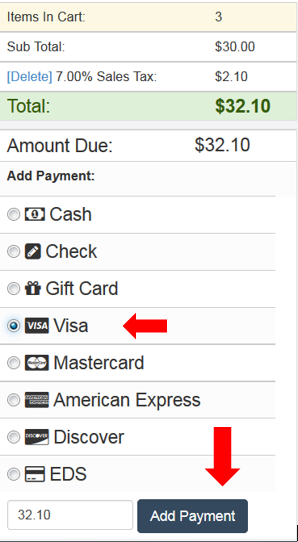
*Please note that all debit cards should be tendered as EDS
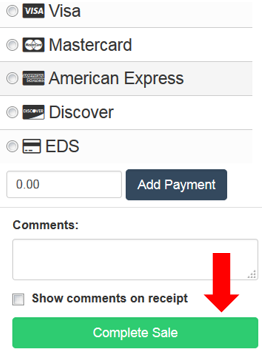
- At this time you will accept payment via cash or credit card. Once payment is received click “complete sale.”
- The print dialogue screen will appear – click “print”
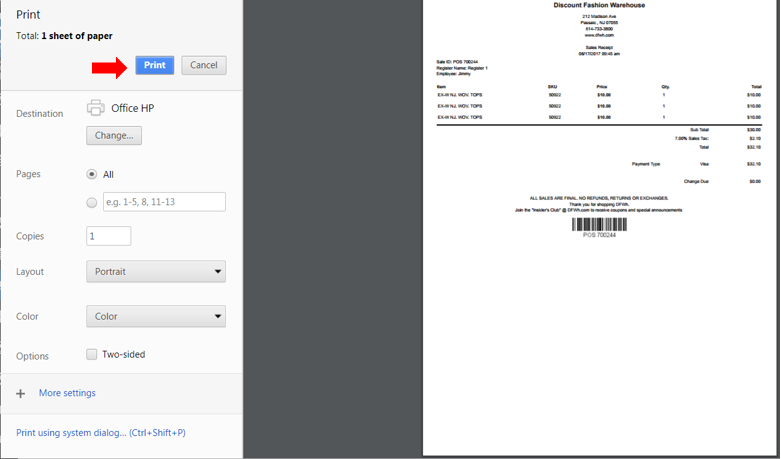
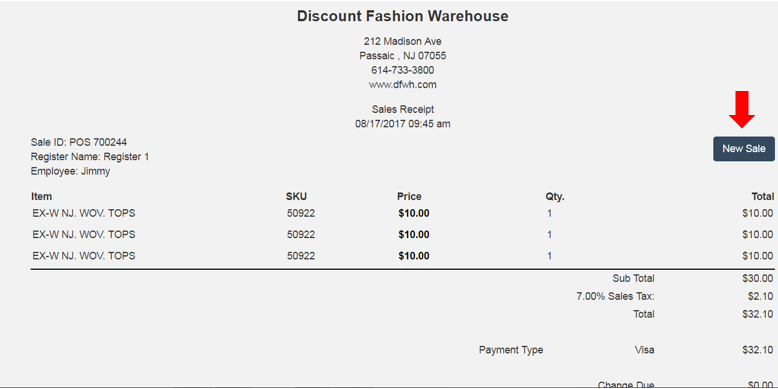
4a. You be will left with the following screen – click “New Sale” to return to the Sales screen.
